Homemade Goat Cheese – or Chevre
Making goat cheese is so simple you don’t even have to know how to boil water. It’s one of my favorite unique gifts and is a great project to do with children. You can make it your own by adding herbs and spices. You do have to plan ahead and get the ingredients – but there are only 2 ingredients.
I first made goat cheese years ago when I started having migraines. On the no-no list of foods was any aged cheese. Actually, all my favorite things in my refrigerator were on the list. I decided to make my own goat cheese. First I had to find fresh goat’s milk. You cannot use the ultra-pasteurized version – what I found in the grocery store – so I decided to find a herd of goats.
By sheer luck I found Latte Da Dairy just as Anne was getting it off the ground and she had extra goat’s milk to share. She has now won a number of awards locally and nationally for her outstanding goat cheeses. Unfortunately, she no longer has goat milk for sale.
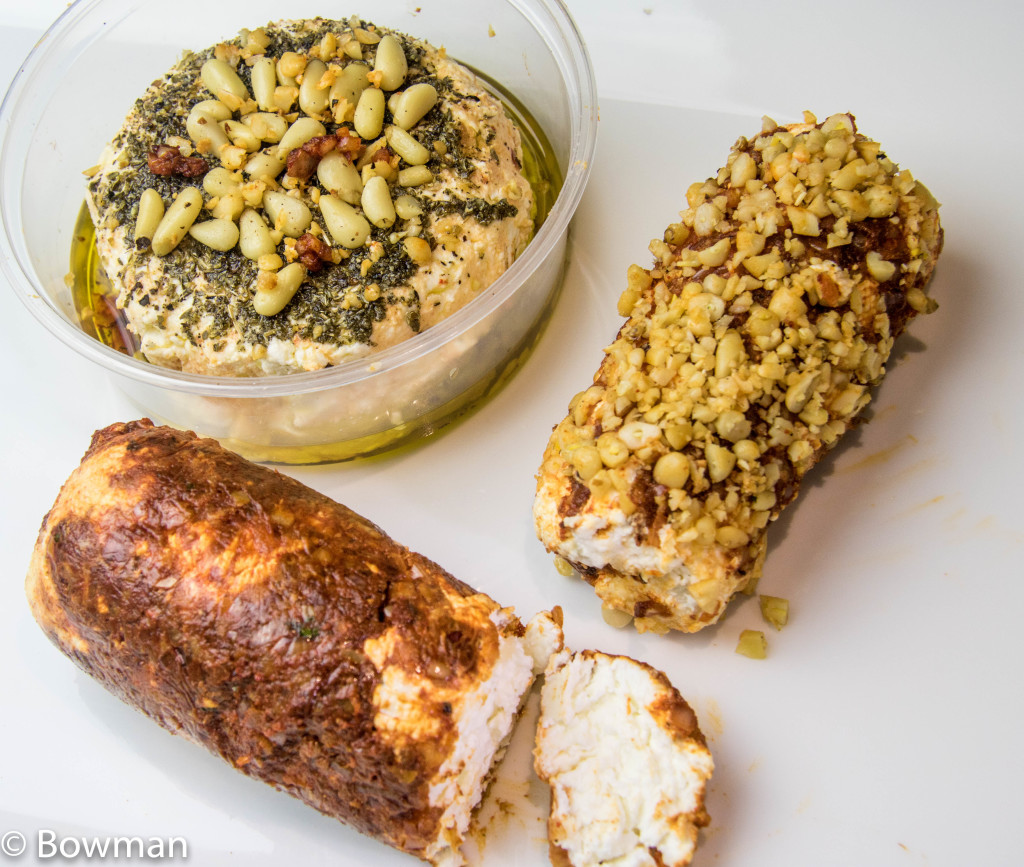
Latte Da has their annual open house on November 8th. It is worth the trip to Flower Mound, TX to see her girls and boys (as she calls her goats). Definitely try her smoked goat cheese, my new favorite. Find Latte Da Dairy on Facebook, too.
I found a new source for goats milk in the Dallas Ft. Worth area at the Coppell Farmers’ Market. Check out the Hidden Valley Creamery in Argyle, Tx. In addition to goat’s milk, Hidden Valley has wonderful yogurt and my favorite, Cajeta (a traditional Mexican caramel sauce). Your local farmer’s market or natural grocery store may have low-heat pasteurized goat’s milk. For you sailors who can find goats around most ports of call go to: Ricki Carroll online and in her “ Home Cheese Making: Recipes for 75 Homemade Cheeses” book, which has great information on pasteurizing raw milk.
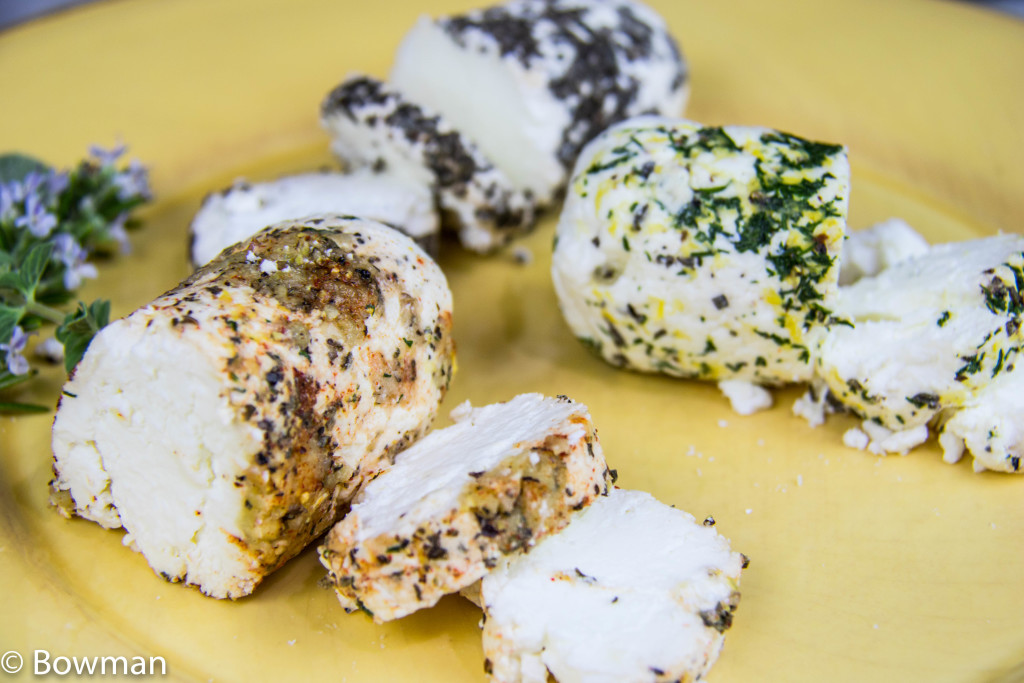
Sautéed sweet onion, garlic with black pepper and smoked paprika, lemon zest with fresh dill and black pepper, dried oregano, sage and rosemary
So, on to the fun part:
Homemade Goat Cheese
Makes about 1½ lbs of cheese.
Ingredients:
1 gallon pasteurized whole goat’s milk. Not ultra pasteurized. If you use lower fat goat’s milk your cheese will be drier.
1 packet direct-set chevre starter (which is inexpensive)
Utensils:
Large stock pot, large colander, large spoon or ladle with slots or holes, thermometer, cheese cloth (or use butter muslin) and kitchen twine.
Method:
Pour the goat’s milk into the pot. Slowly heat the milk to 86F. Watch it because it is easy to overheat. Gently stir in the chevre starter. This is great to do with children because the milk won’t burn them.
Take the pot off the heat, cover it, and let it sit for 12 hours. Your room should be above 72F.
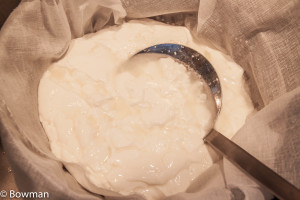
Line your colander with the cheese cloth. Gently move the semi-solid curds from the pot to your colander with the slotted spoon. The whey is the liquid left in the pot. (“Little Miss Muffet sat on her tuffet eating her curds and whey”)
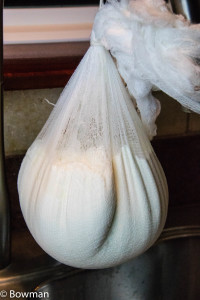
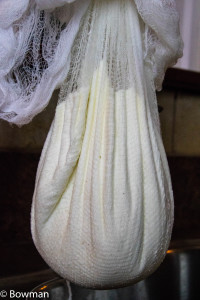
Gather the cheese cloth around the curds and tie it so it hangs over your sink or over a pot to drain for 7 to 12 hours. Again, your room should be above 72F. The longer you leave the curds to drain, the crumblier and drier your cheese will be. After draining, your cheese will need salting. You can use cheese salt. I use kosher salt to taste. It will take more than you think.
That’s it! Store in the refrigerator for up to 1 week.
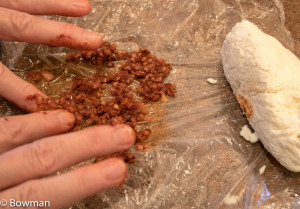
Personalizing your chevre: To add flavors to your goat cheese spread your flavoring on top of a piece of plastic wrap. Roll a log of cheese over it so it sticks on all sides. Very tightly wrap your cheese in the plastic wrap.

