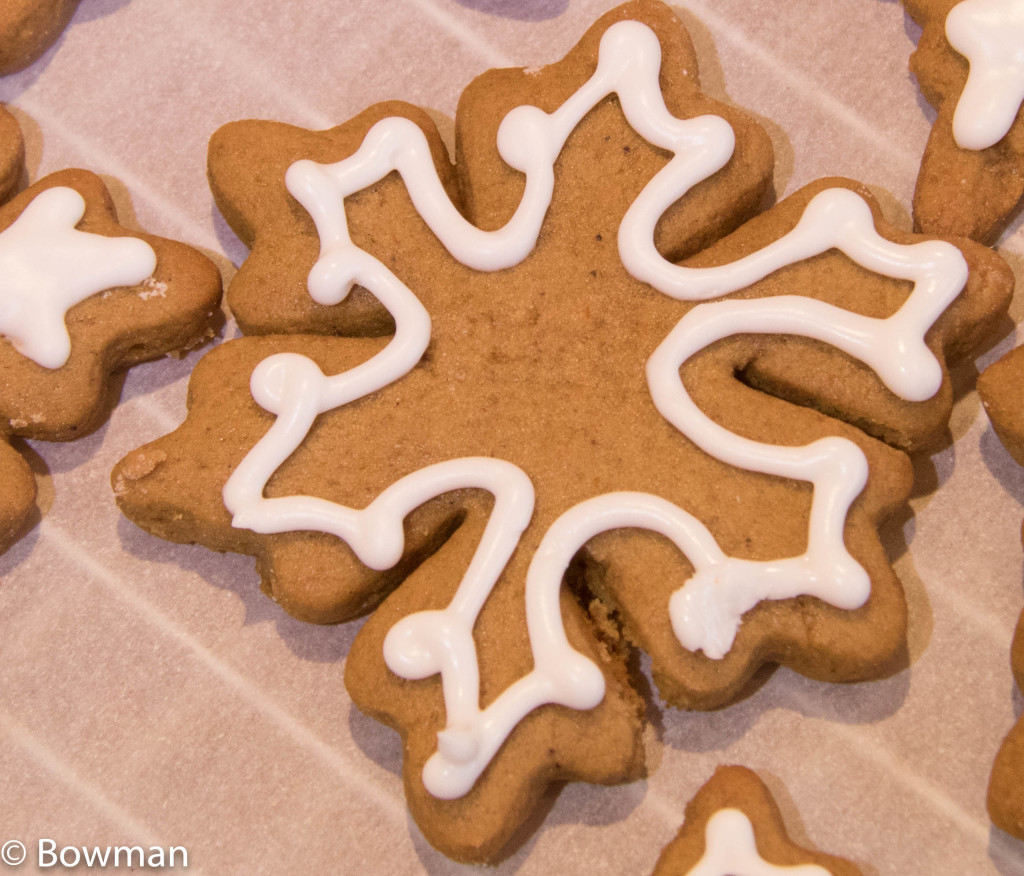
- Gingerbread Snow Flake with Royal Icing. Bring on the Yuletide Spirit!

I’ve started baking for the holidays. It is 70F outside so it is not feeling like the Yuletide inside. I figure making some gingerbread snowflake cookies and chocolate Grand Marnier bites will make the house smell of ginger, cinnamon, nutmeg, cloves and orange. My Christmas tree is up and friends are coming over to help me decorate it. I may even turn on the AC and light a fire, Texas-style. That should get the holiday feel started.
My first project is to bake a really great gingerbread cookie. I want it spicy and a little hot on the tongue. I really don’t bake a lot of cookies so I went to Fine Cooking and looked at several recipes. What I came up with is one of the best doughs I’ve tasted! Decorating these cookies is fun but you don’t have to – the cookies are great on their own.
Don’t be discouraged by the long text. Read through it. It is very simple. Make the dough a few days before you bake and it is a cinch!
Gingerbread Snow Flake Cookies
Makes about 3 dozen
Ingredients:
Cookies:
3½ c All Purpose flour (You’ll need more when you roll out the dough)
1t baking soda
1t cinnamon (I use the Vietnamese cinnamon which is strong)
3t ginger powder
¼ t cloves ground
1/8 t pepper, finely ground
¼ t salt
¾ c light brown sugar, hard backed
1½ c butter, softened
¾ c molasses or trecal
1 large egg
1½ T orange zest
Icing:
2c confectioners’ sugar
2t powdered egg whites or meringue powder
¼ t cream of tarter (optional)
4-5T water
Utensils:
Mixer with a medium or large bowl and a paddle attachment; scraping spatula; measuring cups and spoons; medium bowl; wooden spoon; fine grater; two cookie sheets lined with parchment; plastic wrap; rolling pin (or a wine bottle if you don’t have a rolling pin); flour scraper; cookie cutters; racks for cooling (if your stove has removable burner covers, you can use those – you just want air to flow around the cookies to cool them quicker); several small plastic bags sized for sandwiches.
Method:
Put the flour, baking soda, spices and salt and pepper in the medium bowl and stir.
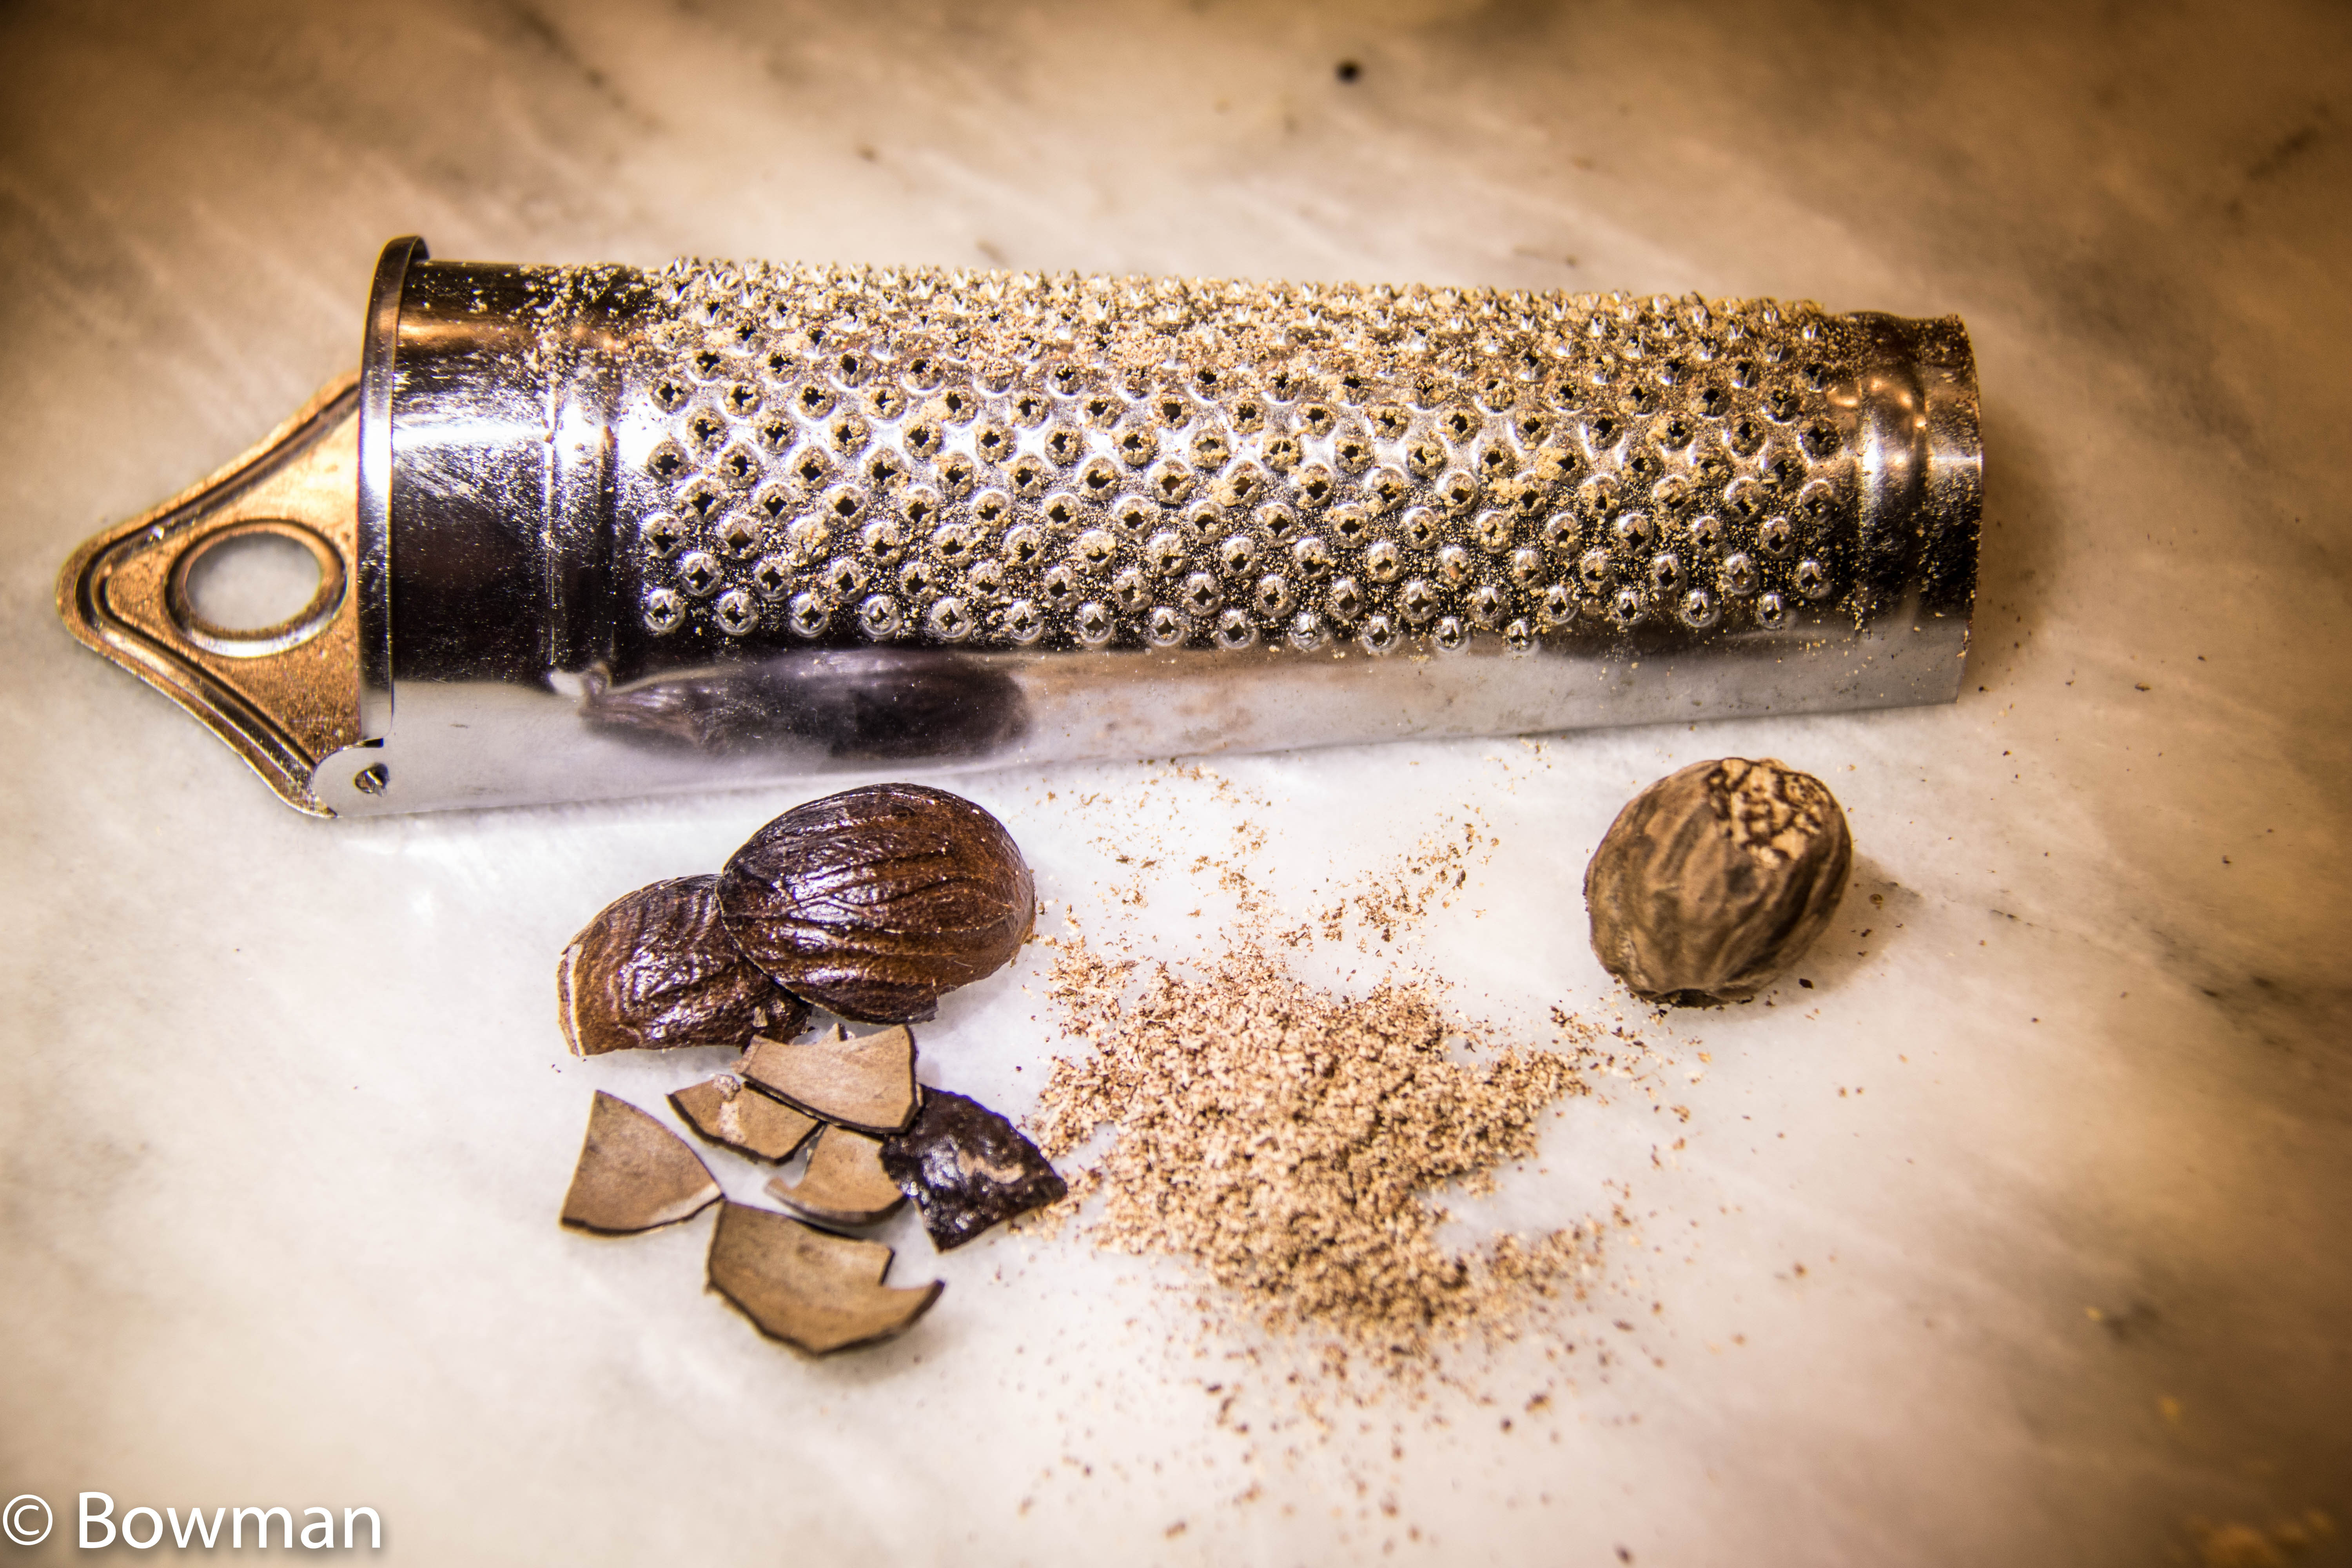
Nutmeg pod with the nutmeg seed you cook with. The nutmeg is from Grenada.
In your mixer at medium speed, cream the butter and brown sugar until it is light and fluffy. It really will look different towards the end so be patient. Add the egg and a tablespoon of the flour mixture. The flour keeps the egg from curdling the sugar mixture. If it curdles, don’t worry, just keep going. Add the molasses and orange zest and beat until the mixture is smooth. Remember to scrape the sides of the bowl.
Add the dry ingredients, either by lowering the speed of your mixer or by stirring them in with a spatula or wooden spoon. Mix until just incorporated. It will be stiff and sticky.
Put a piece of plastic wrap on your counter and turn the dough out onto it. Pat the dough into a circle about 1” thick. Wrap in the plastic wrap and freeze for an hour or a few days. This allows the gluten to relax so your cookies will be tender.
To bake the cookies:
Preheat your oven to 350F. Put one rack in the lower third of the oven and one in the upper third.
Take the gingerbread dough out of the freezer and cut into 4 pieces. Put one piece on a floured work surface and put the rest back in the freezer.
Roll out the piece of dough until it is about 1/8” thick. Dip your cookie cutter in flour and begin to stamp out cookies. Gently move the cookies to the parchment-lined cookie pan. Place them about ½ “ apart.

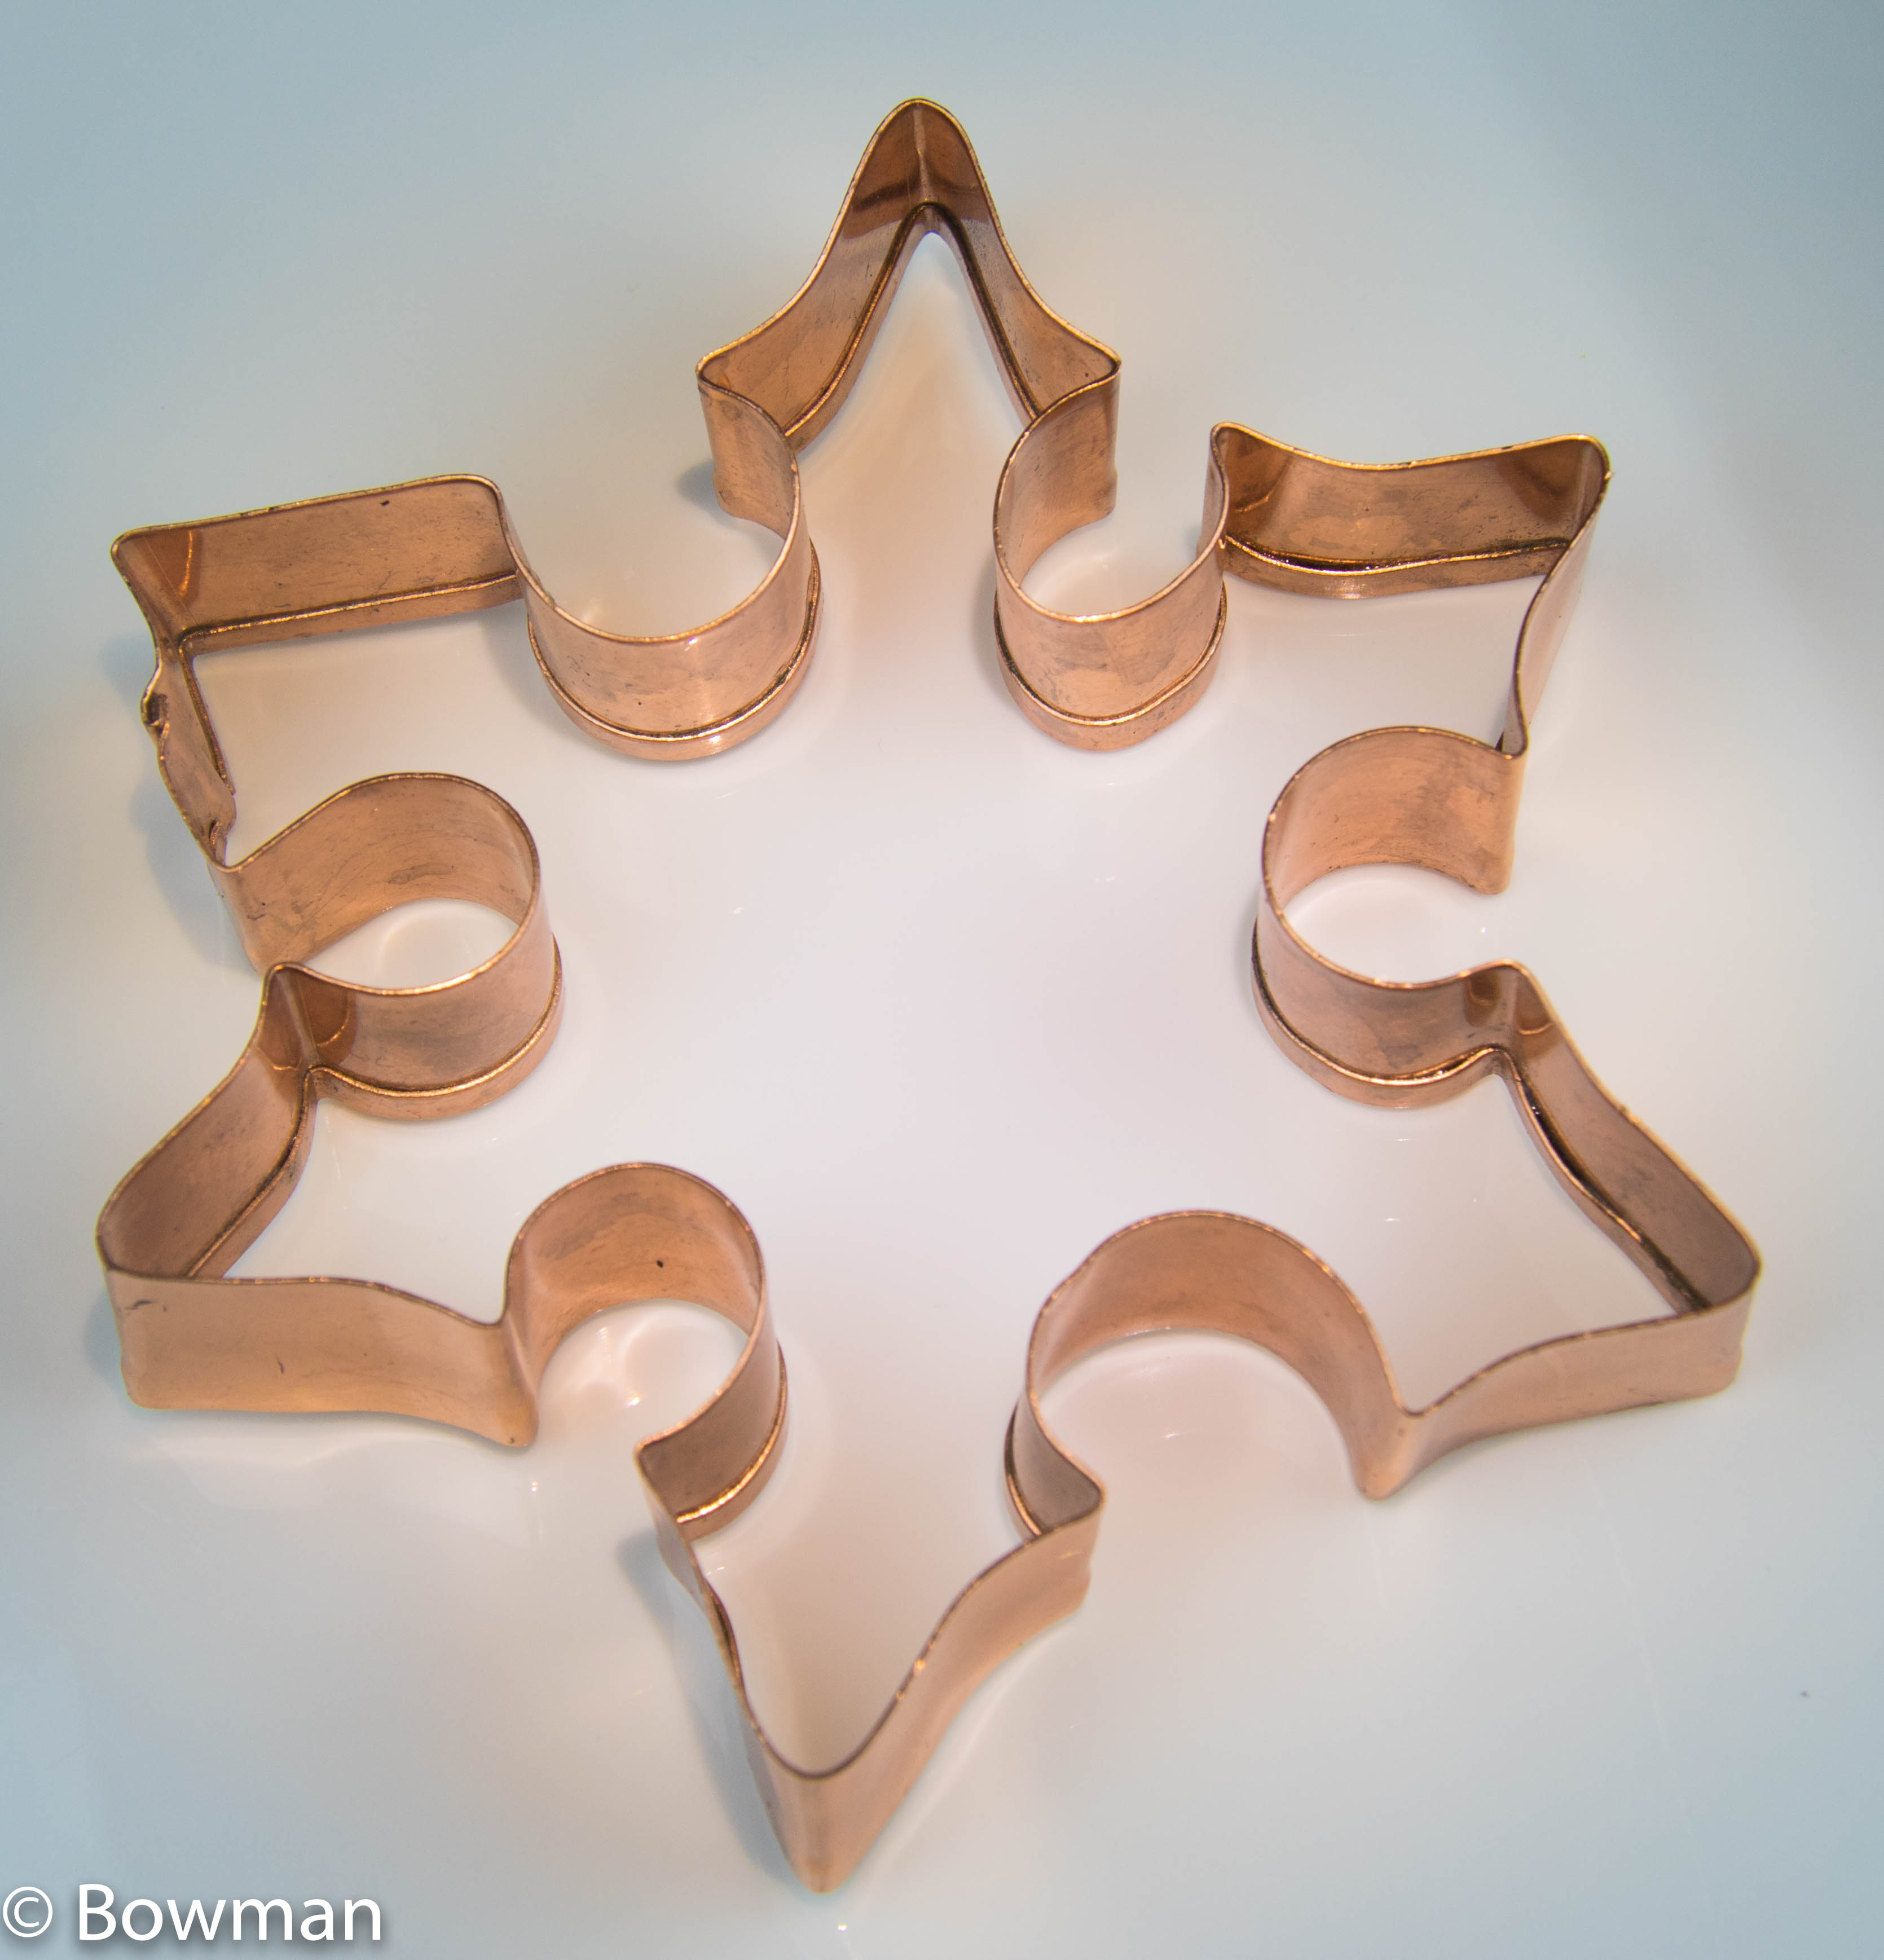
- Old copper cookie cutter from Old River Road
Bake for about 10 minutes. The cookies will be lightly browned and firm. Slide the cookies onto a cooling rack, leaving them on the parchment to make this easier.
Repeat with the rest of the dough.
If you want to decorate your cookies:
Royal Icing to decorate the cookies.
King Arthur Flour has great information about making and using Royal Icing.
Attach a whisk to your mixer. Put the sugar, egg white and cream of tarter in the mixing bowl. Start by mixing together on low speed then increase speed to medium and begin to add the water a tablespoon at a time. Scrape the sides of the bowl. Beat till the mixture becomes smooth, glossy and thick, 6 to 7 minutes.
A test to see if the consistency is right is to put a small plop of icing on the counter. Dip a toothpick in the plop. When you pull it away a peak should form and then gently flow back into the icing. If it is too thick, add a teaspoon of water and beat a bit more until its morale improves.
Put the icing in a bag and pipe your favorite decorations onto the cookies. If you don’t have a bag and tips for decorating, no problem. Fill a baggie with some icing, cut a small corner off and you’ve got it. Keep unused icing covered with a damp towel or plastic wrap or it will dry out. If it gets too stiff, just add a bit more water and beat again.