Browsing Tag

great gift

Cookies, Great Gift Ideas, Kitchen Tools

Copper Cookie Cutters – Snow Flakes

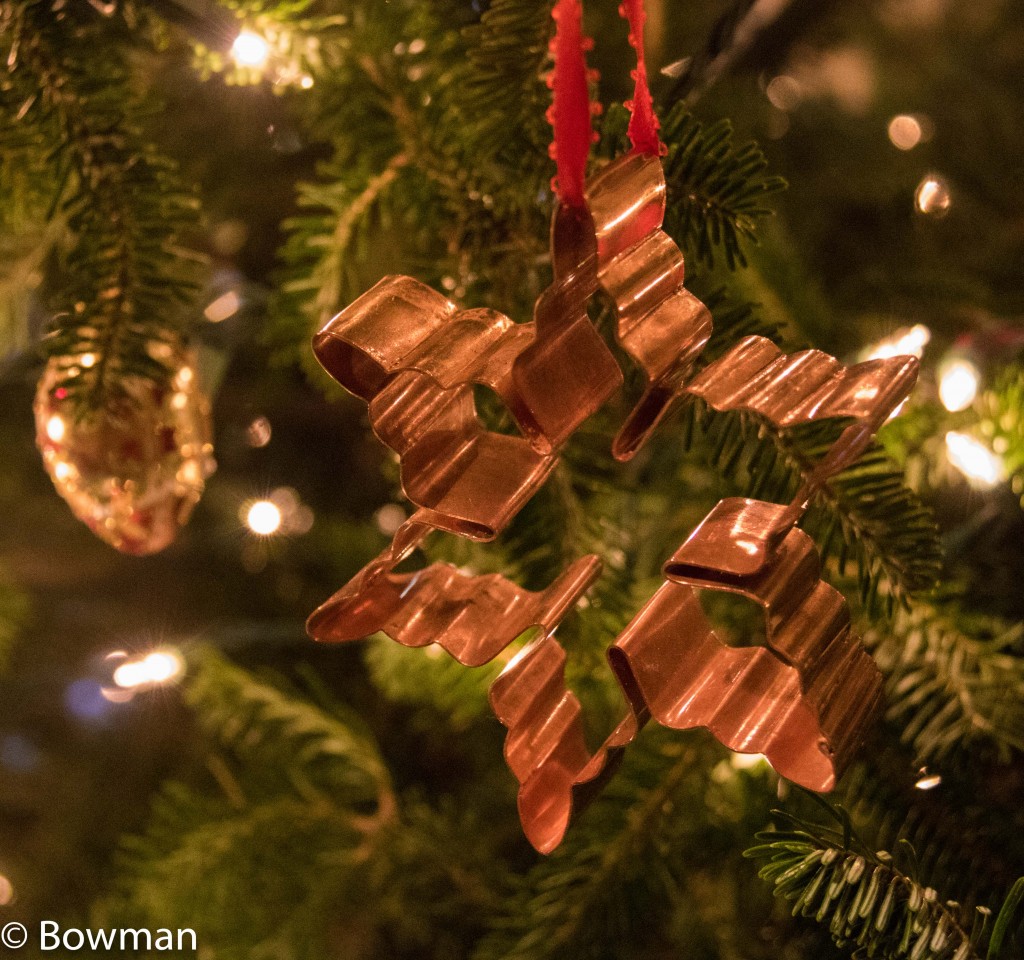
v2 copper cookie cutter on tree 210151213-_MG_3405.CR
Old copper cookie cutters – great for baking and decorating

This year I’ve had time to make Christmas cookies – until now my day job has been too intense in November and December.  See Gingerbread Snow Flake Cookies for my recipe. I found these lovely old copper cookie cutters and decided they were perfect for what I wanted to make.

I took a whole afternoon and had a wonderful time making the simple dough and even decorating them, though I don’t do that as well as I’d like to.  The intricately-decorated cookies in the magazines make it all a bit daunting. My motivation is the joy of figuring out the flavors and sharing them with friends – dribbles and all – not perfection.

For the past several years a few friends have come over for dinner and helped me decorate my Christmas tree. Each got a cookie cutter this year. The cookies were a hit, with their strong ginger and spice flavor, and the cookie cutters  were a perfect thank you.

Great Gift Ideas, Tips

Favorite Kitchen Tool #3 – Kitchen Scale

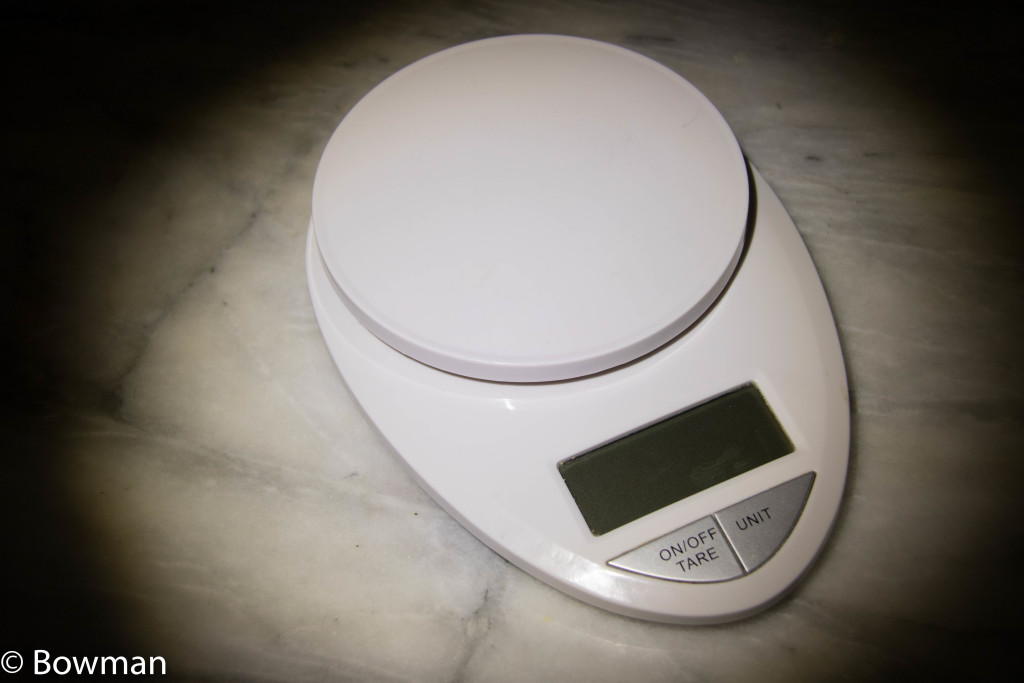
scale

Holiday baking time has me thinking about my kitchen scale, one of the tools you really need in the kitchen.

Being off a bit with quantities is more consequential in baking than in any other form of cooking. Baking recipes do not tolerate approximate amounts well. Often, a less-than-stellar outcome stems from using volume measurements instead of weight measurements.  For example, if you measure flour by filling a cup, then the amount of flour you end up using will vary depending on whether the flour is sifted or hard-packed and on whether you scoop or pour. The solution: do not measure by volume, measure by weight – put away the cup, get out the kitchen scale.

My scale measures ounces, kilograms, grams, and pounds on an easy-to-read screen.  One feature I use all the time is the “Tare”, which zeros the display regardless of what is on the scale, enabling you to measure only what you put in the bowl.  This scale is big enough to weigh a variety of bowl sizes and since the scale is thin, it is easy to store and to stack. I stack my big measuring cups on top of it. Great when you don’t have a lot of storage room.  This kitchen scale, the EatSmart Precision Pro Digitalis also priced at $19.95 right now (12/15/15) on Amazon.  It usually costs between $30-$40.

Cookies, Desserts, Great Gift Ideas, Snack, Treats

Gingerbread Snow Flake Cookies

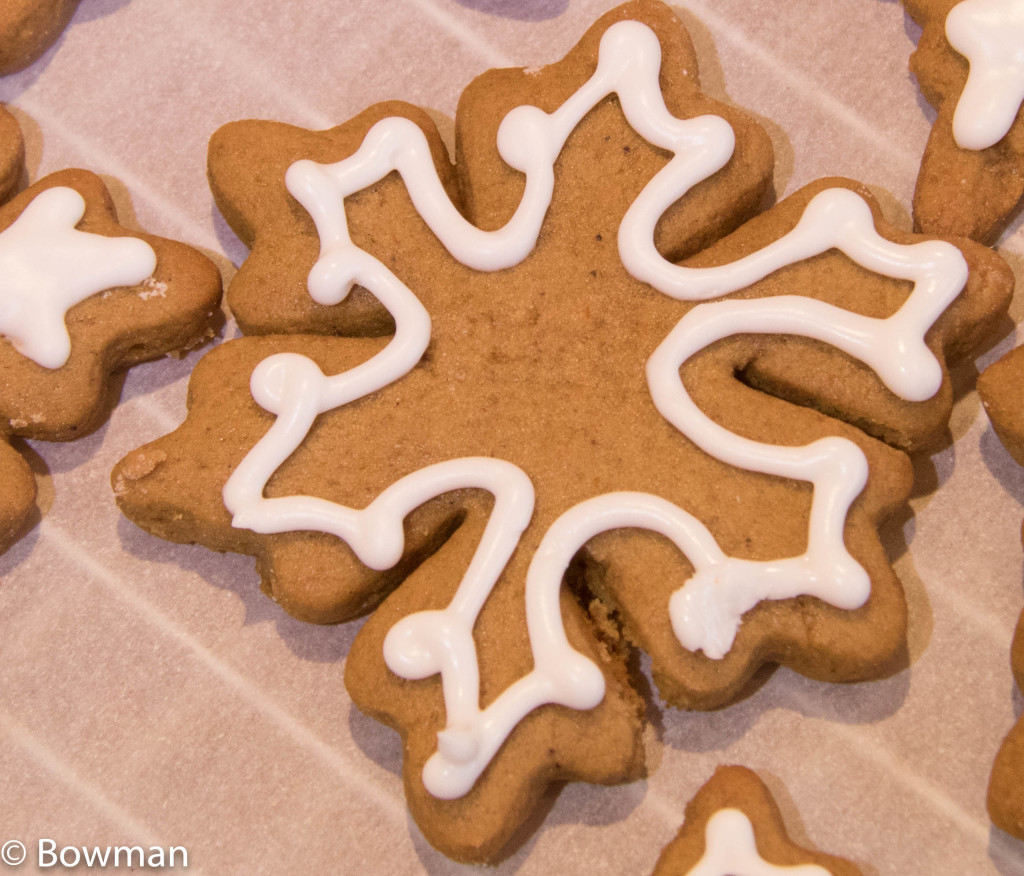
gingerbread cookie 20151209-_MG_3332.CR2
Gingerbread Snow Flake with Royal Icing. Bring on the Yuletide Spirit!

I’ve started baking for the holidays. It is 70F outside so it is not feeling like the Yuletide inside. I figure making some gingerbread snowflake cookies and chocolate Grand Marnier bites will make the house smell of ginger, cinnamon, nutmeg, cloves and orange.  My Christmas tree is up and friends are coming over to help me decorate it. I may even turn on the AC and light a fire, Texas-style. That should get the holiday feel started.

My first project is to bake a really great gingerbread cookie.  I want it spicy and a little hot on the tongue.  I really don’t bake a lot of cookies so I went to Fine Cooking and looked at several recipes.  What I came up with is one of the best doughs I’ve tasted! Decorating these cookies is fun but you don’t have to – the cookies are great on their own.

Don’t be discouraged by the long text. Read through it. It is very simple. Make the dough a few days before you bake and it is a cinch!


Gingerbread Snow Flake Cookies

Makes about 3 dozen

Ingredients:

Cookies:

3½ c          All Purpose flour (You’ll need more when you roll out the dough)

1t               baking soda

1t               cinnamon (I use the Vietnamese cinnamon which is strong)

3t               ginger powder

¼ t             cloves ground

1/8 t           pepper, finely ground

¼ t             salt

¾ c            light brown sugar, hard backed

1½ c          butter, softened

¾ c            molasses or trecal

1                large egg

1½ T          orange zest

Icing:

2c              confectioners’ sugar

2t               powdered egg whites or meringue powder

¼ t            cream of tarter (optional)

4-5T          water

Utensils:

Mixer with a medium or large bowl and a paddle attachment; scraping spatula; measuring cups and spoons; medium bowl; wooden spoon; fine grater; two cookie sheets lined with parchment; plastic wrap; rolling pin (or a wine bottle if you don’t have a rolling pin); flour scraper; cookie cutters; racks for cooling (if your stove has removable burner covers, you can use those – you just want air to flow around the cookies to cool them quicker); several small plastic bags sized for sandwiches.

Method:

Put the flour, baking soda, spices and salt and pepper in the medium bowl and stir.
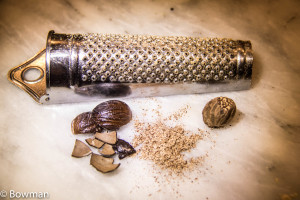
Nutmeg pod with the nutmeg seed you cook with. The nutmeg is from Grenada.

Nutmeg pod with the nutmeg seed you cook with. The nutmeg is from Grenada.

In your mixer at medium speed, cream the butter and brown sugar until it is light and fluffy. It really will look different towards the end so be patient. Add the egg and a tablespoon of the flour mixture. The flour keeps the egg from curdling the sugar mixture. If it curdles, don’t worry, just keep going.  Add the molasses and orange zest and beat until the mixture is smooth. Remember to scrape the sides of the bowl.

Add the dry ingredients, either by lowering the speed of your mixer or by stirring them in with a spatula or wooden spoon. Mix until just incorporated. It will be stiff and sticky.

Put a piece of plastic wrap on your counter and turn the dough out onto it. Pat the dough into a circle about 1” thick. Wrap in the plastic wrap and freeze for an hour or a few days. This allows the gluten to relax so your cookies will be tender.

 To bake the cookies:

Preheat your oven to 350F. Put one rack in the lower third of the oven and one in the upper third.

Take the gingerbread dough out of the freezer and cut into 4 pieces. Put one piece on a floured work surface and put the rest back in the freezer.

Roll out the piece of dough until it is about 1/8” thick. Dip your cookie cutter in flour and begin to stamp out cookies. Gently move the cookies to the parchment-lined cookie pan. Place them about ½ “ apart.
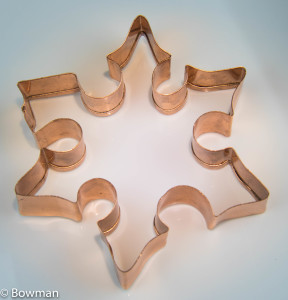
Old copper cookie cutter from Old River Road

Bake for about 10 minutes. The cookies will be lightly browned and firm. Slide the cookies onto a cooling rack, leaving them on the parchment to make this easier.

Repeat with the rest of the dough.

If you want to decorate your cookies:

Royal Icing to decorate the cookies.

King Arthur Flour has great information about making and using Royal Icing.

Attach a whisk to your mixer. Put the sugar, egg white and cream of tarter in the mixing bowl.  Start by mixing together on low speed then increase speed to medium and begin to add the water a tablespoon at a time.  Scrape the sides of the bowl. Beat till the mixture becomes smooth, glossy and thick, 6 to 7 minutes.

A test to see if the consistency is right is to put a small plop of icing on the counter.  Dip a toothpick in the plop. When you pull it away a peak should form and then gently flow back into the icing. If it is too thick, add a teaspoon of water and beat a bit more until its morale improves.

Put the icing in a bag and pipe your favorite decorations onto the cookies.  If you don’t have a bag and tips for decorating, no problem. Fill a baggie with some icing, cut a small corner off and you’ve got it. Keep unused icing covered with a damp towel or plastic wrap or it will dry out.  If it gets too stiff, just add a bit more water and beat again.


Chocolate, Desserts, Great Gift Ideas, On the Road

CocoAndre Chocolate

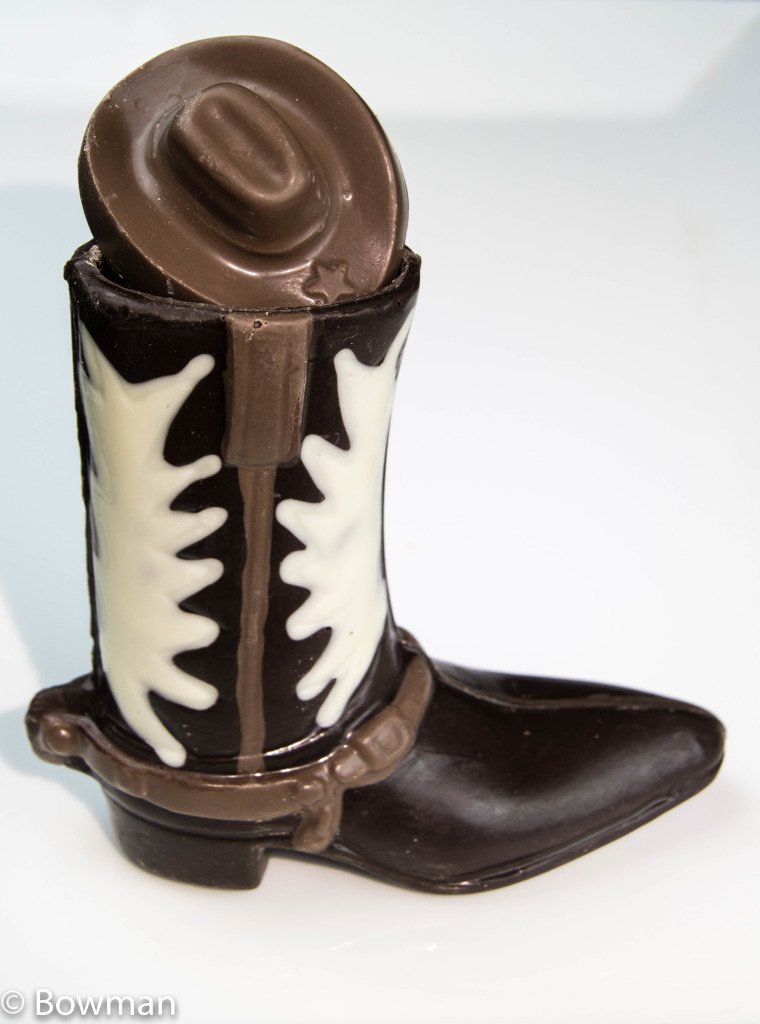
The best tasting boot you'll ever stick in your mouth

The best tasting boot you’ll ever stick in your mouth!

I once bought a card that said “No matter what the problem is, the answer is chocolate!” I’m always on the hunt for really good chocolate.

Preparing to make Christmas cookies and chocolates, I thought I would go and see how the talented Coco Pedraza, owner and head chocolatier of a boutique chocolate company CocoAndre Chocolatier in the Bishop’s Arts District in Dallas, makes her confections.  Made with 100% cocoa-butter-based raw chocolate, you’ll find her marvelous molded chocolates, Old World truffles, chocolate cakes and specialty drinks over-the-top wonderful. You could describe her chocolate with the words you would use for a fine wine – dark, rich flavors with a slight bitterness at the back of your tongue, with notes of raspberry, ginger, pear or vanilla.  How does a dark, spicy Oaxacan chocolate drink sound?

Choc Star 20151209-_MG_3332.CR2

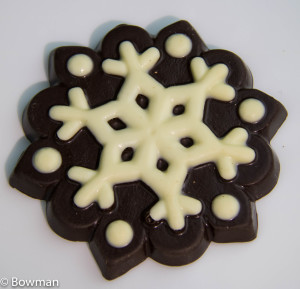
Dark and white chocolate snow flake

CocoAndre Chocolatier also has a Facebook page: https://www.facebook.com/cocoandre.

Drinks, Great Gift Ideas

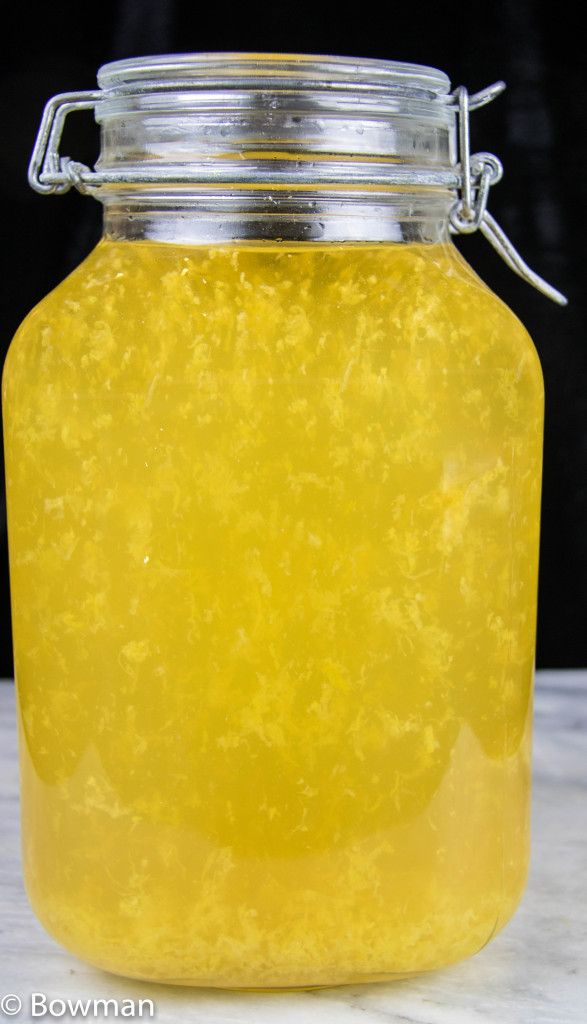
Limoncello step 2

limoncello step 2 20151206-_MG_3287.CR

Limoncello – the second step

In an earlier blog, “Limoncello Salute!”, I covered the first stage of creating that well-loved Italian aperitif.   Over the last five weeks the the lemon zest has been slowly infusing into the vodka.

In this second stage you make a simple syrup with 3 cups of water and 3 cups of white sugar. You add the simple syrup and the second bottle of vodka to your gallon jug of vodka and lemon zest. Then put the jug in an out-of-the-way place to sit for another few weeks!

The final stage is decanting the golden liquor and removing the lemon zest. The longer you can leave the lemon zest in the vodka and simple syrup, the better your Limoncello will taste. If you are in a rush, wait at least one week! I usually wait 3 to 4 weeks to do the final decanting. Perfect for a bit of Christmas cheer. But beware – it packs a punch!

Salute!


Simple Syrup for Limoncello

Ingredients:

3c     water

3c     white sugar

Utensils:

Medium saucepan, measuring cup, wooden spoon

Method:

Pour the water and sugar into the saucepan. Cook over a medium heat, stirring gently until the sugar melts completely and the liquid has become clear. Continue to heat until the syrup becomes slightly thick, 5-10 minutes.

Cool before pouring into the lemon/vodka infusion.